
Follow the mentioned steps to enter menu items (dishes) in the menu master.
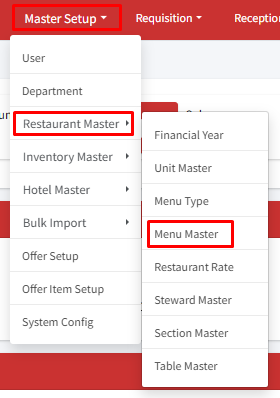
Step 1: Click on Master Setup > Restaurant Master > Menu Master.
Step 2: To create a new menu item, start by clicking on “+ Add Menu.” Next, enter menu name and select the type of menu it belongs to (e.g., appetizer, main course). If the price you enter already includes GST, simply check the “GST Included?” box.
You can enter multiple menu items for a single menu type at once. Use a comma (,) after each menu item name for multiple entries. For example: Menu_Item_1, Menu_Item_2, etc. You can delete/remove any menu type from the entry field by clicking on the remove (x) icon.
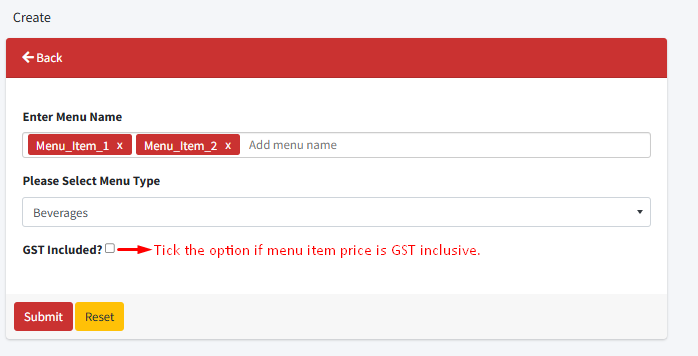
Step 3: After you’ve filled in the menu name, chosen the type of menu it belongs to, and indicated whether the price includes GST, click the ‘Submit’ button to add the menu item.
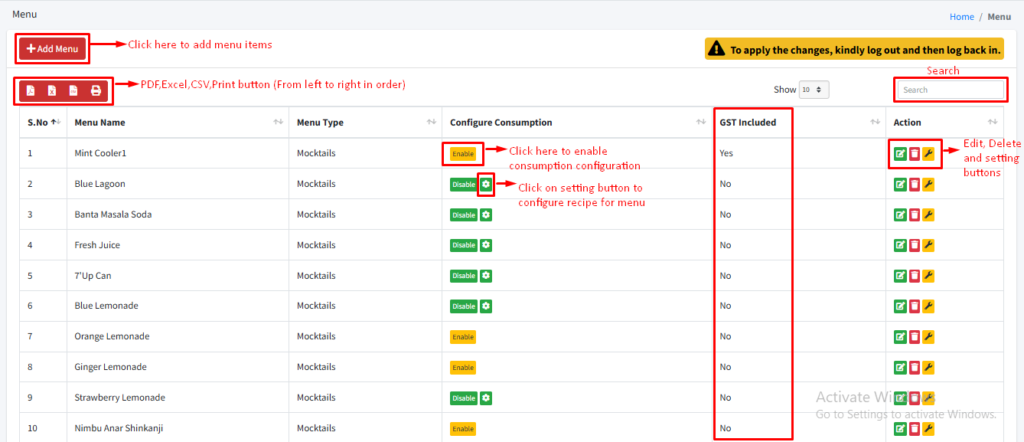
Within the Menu Master, there’s a functionality called ‘Configure Consumption.’ This feature enables users to specify the recipe and the quantity of raw materials required to prepare each menu item. As orders are placed, the system intelligently tracks the usage of these raw materials and adjusts the inventory accordingly.
To use this feature, first, you need to enable ‘configuration consumption’ for the menu item. Then, click on the ‘Settings’ button. This will allow you to enter how much of each ingredient is needed to make the dish.
Need help?
Have you any question which is not answered in this knowledge base? Contact us. We are here to help you.